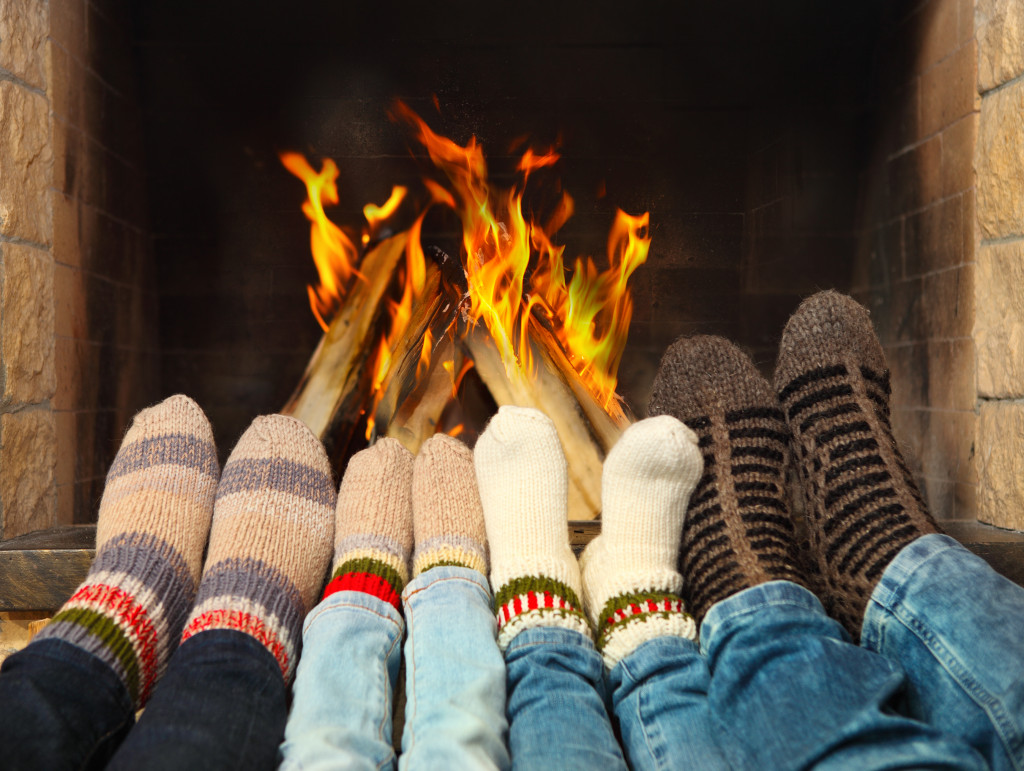
Winter is undeniably among the harshest seasons that your home could ever face. From the ice, sleet, and snow, it can impact almost every part of your house, leading to disastrous, expensive problems. It can even risk the safety of you and your family. For such reason, homeowners are advised to always prep their home for the chilly weather conditions to avoid property damages and safety concerns.
Luckily for you, the ways of preparing your home for winter isn’t as tough as you think it is. Not sure what you should do first? Here are simple tips on how you can properly winterize your lovely home and ensure it will survive the cold.
1. Seal the doors and windows
If you don’t want to have a surprisingly high heating bill at the end of the month, make sure there aren’t air leaks where cold air can infiltrate. Open and close your doors and windows a few times to check for leaks. Gaps on the seals are a visible sign of air leaks. For your doors, inspect the frame’s outside moldings and install new caulking if necessary. Also, look for faulty weatherstripping and utilize rope caulks to seal any gaps.
Do these for your windows as well. In addition, check the locking mechanisms of your windows too, and remove debris on the window tracks. In checking for leaks in your windows, look at the edges where they slide or are hinged into. For sealing, you can use rope caulk or tape plastic.
2. Inspect the gutters and roof
Rainfall is typically an annoying bonus during the winter season. Before that happens, make sure your gutters are clean and unclogged. Gutters clogged with leaves or debris can break or overflow, which can also impact your roof. Get up that ladder and scoop out any debris clogging your gutters. Don’t forget to flush out left dirt using a hose.
Moving on to your roof, be sure to inspect it before winter as well. For your safety, you can just hire someone to do it. Nonetheless, it’s important that your roof does not have any damaged or missing shingles. If there is, replace them immediately. If you are seeing a buildup of lichen and moss, that’s an obvious sign that your roof is decaying.

3. Prepare your landscape
Winter season can be a nightmare for your lawn, especially if you have different trees and plants. Some tips to prepare your lawn for winter include cutting the grass shorter, removing debris, and raking leaves. You can also protect your valuable evergreens from chilly winds and salt spray by using burlap wrapping.
Expert landscapers also suggest having your outdoor remodeling before winter, and for great reasons. One is for convenience. Landscaping work such as paver patios or driveways can make your winter cleanup a lot easier. Shovel snow won’t be such a drag like it used to. Plus, you are even likely to save money since the demand for such projects tends to slow down as winter comes.
4. Clean the dryer vents
Another part of your home that’s likely to get overused during the chilly months is your dryer vents. Do a thorough cleaning to get rid of any build-up lint. Be sure to clean or replace the lint filter. This simple task can help reduce the risk of fire and help boost your home’s energy efficiency.
In cleaning your dryer vents, you can vacuum the trapped lint. You can typically find the lint vents at the back of your dryer. In case you can’t locate them, check the instructions in the manufacturer’s manual.
5. Winterize your plumbing
Last tip on our list is winterizing your plumbing pipes. Freezing temperatures can potentially damage your pipes, which leads to breaks or leaks in your house. The process of winterizing may include fixing the fixtures with antifreeze solutions, draining water from the pipers, and emptying the water heater.
As to prevent your pipes from freezing, insulate them with slip-on foam insulation. If there are cracks or holes, caulk them to keep the cold air out or use spray foam. Another preferred winterization method is protecting the pipes from freezing with heat tape. Follow the latest recommendations by the U.S. Consumer Product Safety Commission to prevent fires when using heat tapes.
While most of these tips are generally easy to do, remember that not all of them are safe to DIY. Don’t hesitate to ask for the help of professionals if you can’t guarantee your safety. Inspection of roof, gutters, and plumbing are the usual tasks that are better done by experts. Don’t risk your safety before winter even comes.

